

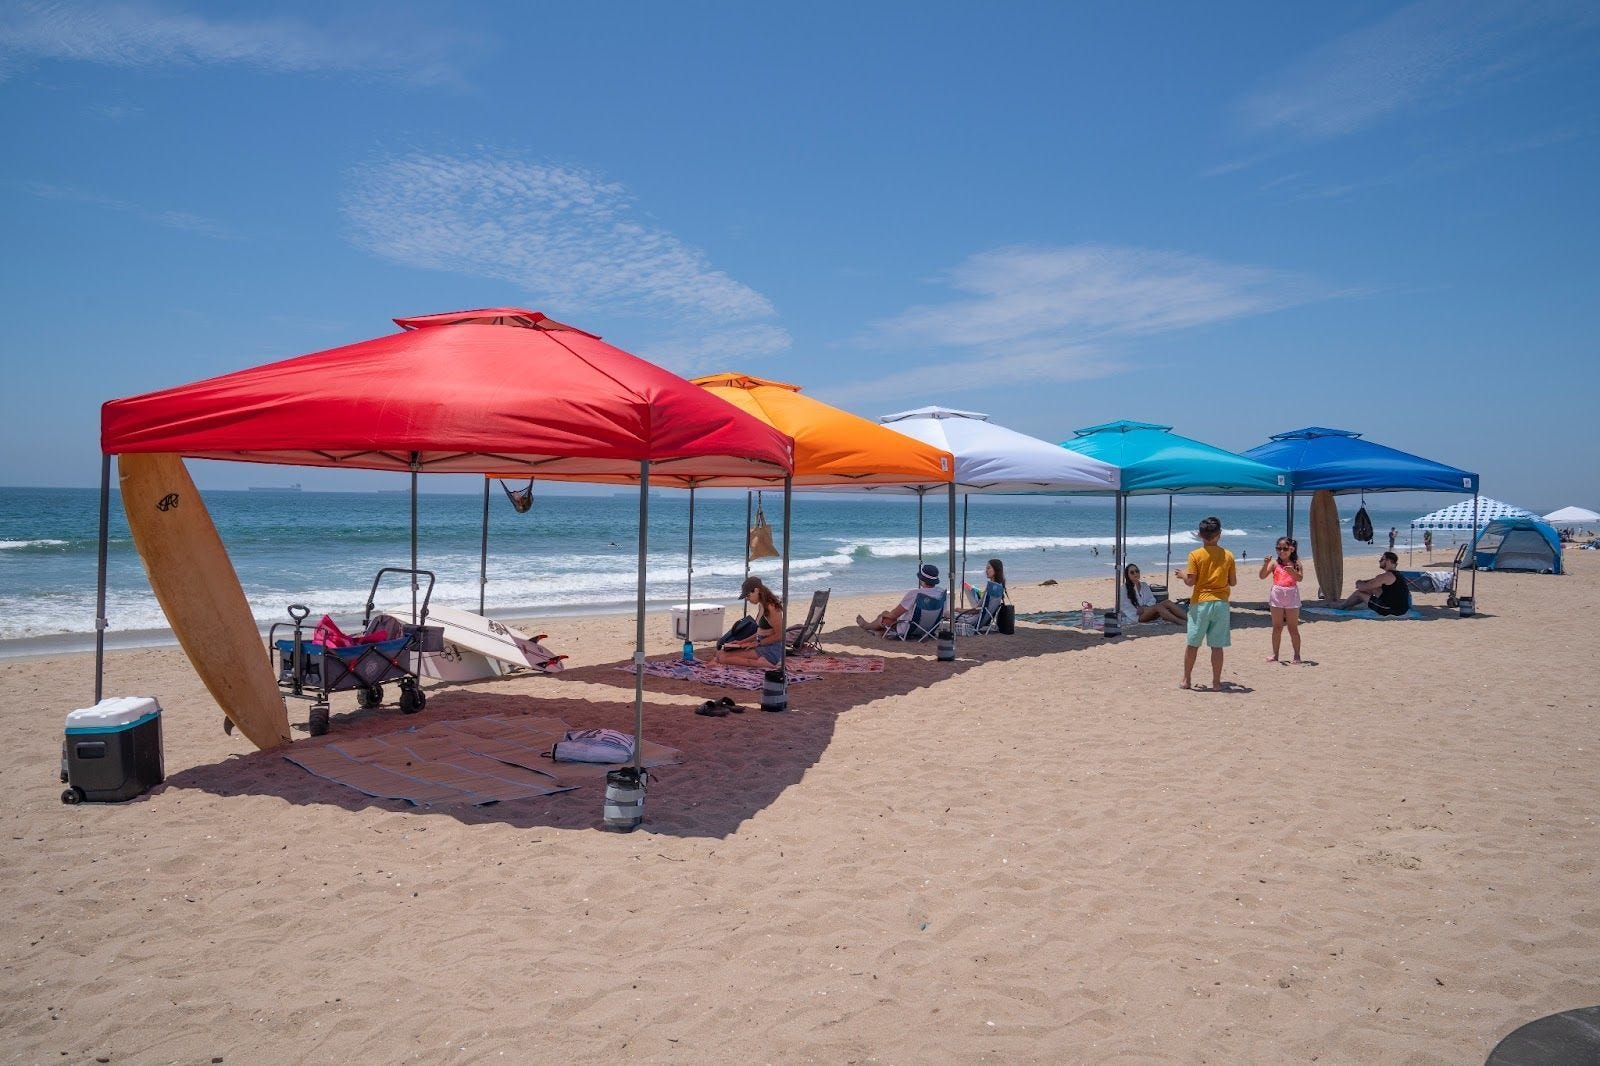
Quick answer: a custom pop-up canopy is not simply a logo added to a stock tent. The useful choices include shelter size, frame duty, print coverage, colours, sidewalls, counters, banners, anchoring, transport, and the event rules that apply in Canada. The best custom setup is the one designed around where it will be used and what must happen beneath it.
Below are eight common myths that can lead businesses, schools, teams, and community organizations to order the wrong event setup.
Myth 1: every custom canopy is basically the same
Reality: custom shelters come in different sizes and duty levels. E-Z UP Australia currently lists light-, medium-, and heavy-duty custom canopy models. A school fundraiser with occasional use may have different needs from a touring event team or a business attending markets every weekend.
Start with the complete custom pop-up canopy collection. Two useful 10' x 10' reference points are the medium-duty Custom Vantage 10' x 10' Canopy and the heavy-duty Custom Eclipse 10' x 10' Canopy.
Myth 2: more printing is always better
Reality: the right print coverage depends on viewing distance, traffic direction, budget, and whether the canopy will be seen from one side or all sides. The Custom Vantage product page offers choices ranging from a single printed valance or peak to full coverage across four peaks and four valances.
Use the most visible surfaces for a short brand name, a readable message, or a recognizable graphic. Avoid turning every panel into a dense brochure. For design help, review the custom graphics process or request a custom canopy quote and rendition.
Myth 3: a 10x10 canopy is too small to look professional
Reality: a 10' x 10' shelter provides a 100-square-foot footprint and fits many standard event booths. Professional impact comes from a coordinated layout, clear signage, uncluttered sightlines, and a deliberate customer path—not footprint alone.
If the organizer permits a double-width space and the activation needs more room, compare the Custom Vantage 10' x 20' Canopy or the Custom Eclipse 10' x 20' Canopy. Read the 10x10 vs. 10x20 Canadian size guide before ordering.
Myth 4: the canopy top is the whole display
Reality: eye-level elements often do much of the communication. Depending on the event, a custom table cover, custom professional sidewall, or custom marquee banner can help visitors understand the booth from the aisle.
Myth 5: the artwork file can be figured out after ordering
Reality: print quality and production timing improve when usable artwork is prepared early. Confirm logo files, brand colours, required wording, viewing sides, and approval responsibility before the order deadline. E-Z UP Australia provides design templates and artwork requirements.
Myth 6: custom graphics make a canopy suitable for every use
Reality: graphics do not change the frame's intended duty level. Match the underlying shelter to frequency of use, transport demands, venue type, and working conditions. Use the canopy comparison page or canopy finder to narrow the frame choice before finalizing graphics.
Myth 7: anchoring can be added only if it gets windy
Reality: anchoring and ballast belong in the original event plan. Determine whether the site is grass, pavement, or another surface, and follow both the product instructions and organizer requirements. Browse canopy weights and weight bags and anchoring and wind-protection accessories.
Anchoring improves stability but does not make a temporary shelter safe in every weather condition. Sidewalls and banners can increase wind exposure, so monitor conditions and take the shelter down when required by the instructions or event plan.
Myth 8: the lowest purchase price is the lowest event cost
Reality: the complete cost includes printing, accessories, shipping, storage, staff time, transport, replacements, and missed-event risk. Compare the full setup—not only the shelter price.
Custom canopy planning checklist
- Confirm the approved event footprint and height restrictions.
- Choose a frame duty level appropriate for the intended use.
- Map traffic flow and decide which surfaces people will see.
- Prepare approved logo files, colours, and short messaging.
- Add the tables, sidewalls, banners, lighting, and transport gear the booth needs.
- Plan compatible anchoring or ballast for every leg.
- Check Canadian venue requirements, including any requested fire-safety documentation.
- Allow time for artwork approval, production, delivery, and a practice setup.
Ready to compare options? Browse custom canopy tents or ask E-Z UP Australia to help turn the event requirements into a complete setup.